From your first account to a table code in an afternoon.
Have your dishes, prices and photos you have permission to use ready. Here is the full QuickQR journey, from a new account to the page your guest opens.
Start freeCreate an account for your venue.
Enter your name, email and password. Verify your email using the link you receive. Starting the trial does not require a payment card.
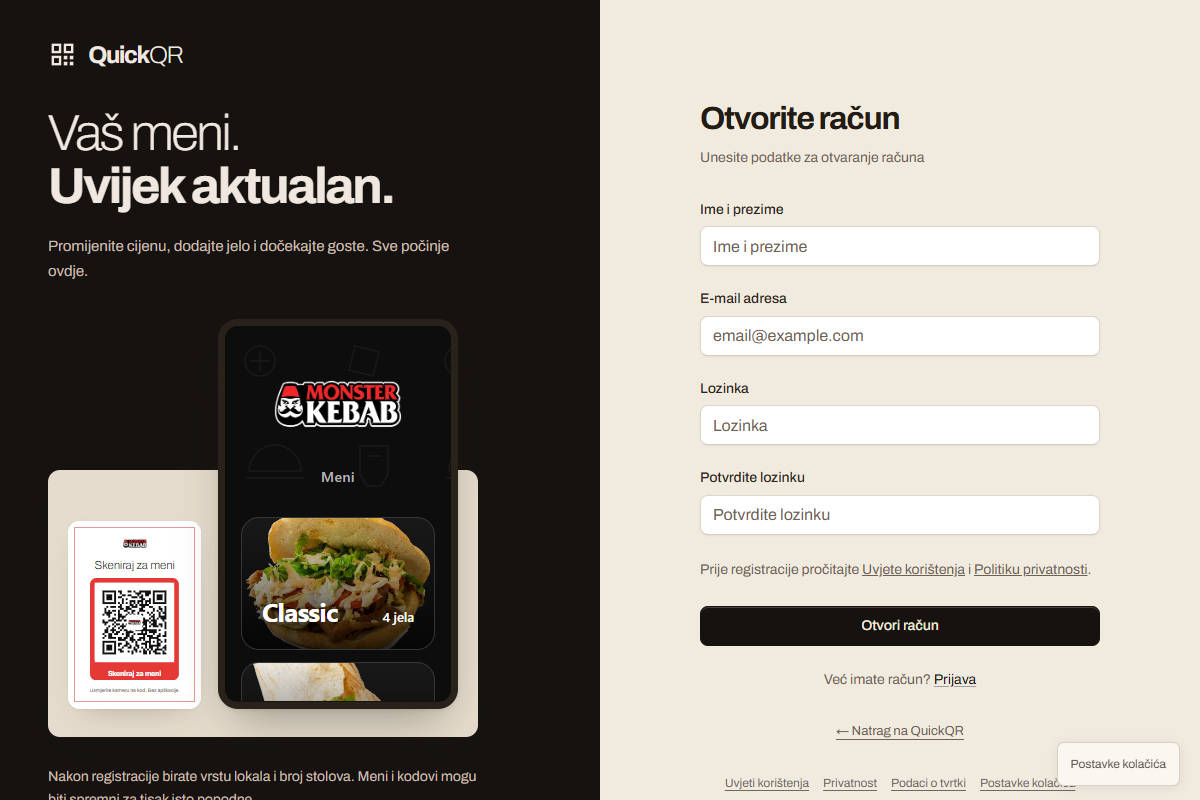
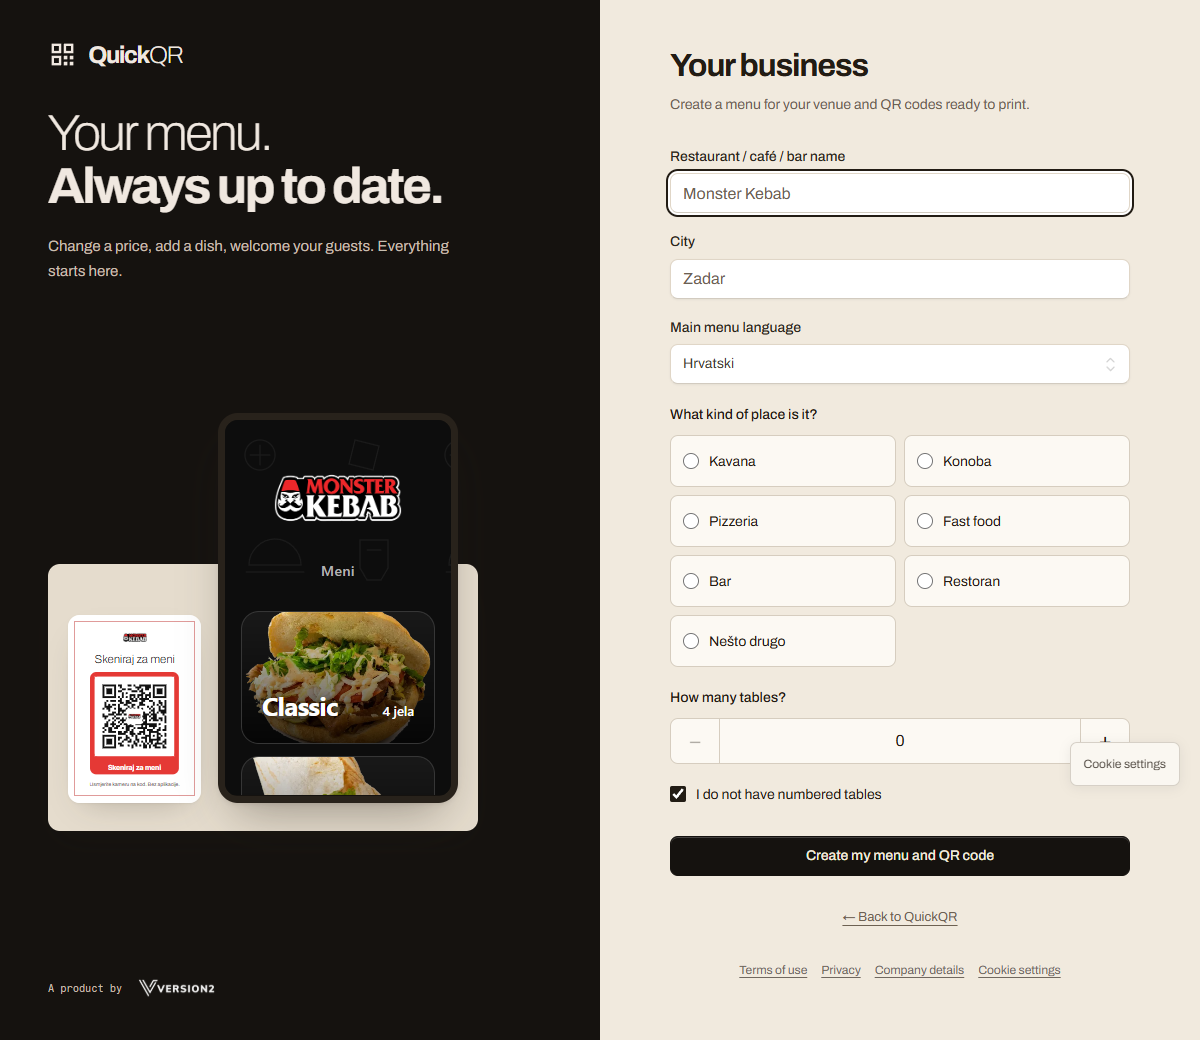
Captured in QuickQR with demonstration data. Choose your starting menu and table count.
Name your venue and choose its type. QuickQR prepares suggested items and table codes. Choose “Something else” for a hotel or your own structure. Every item is editable.
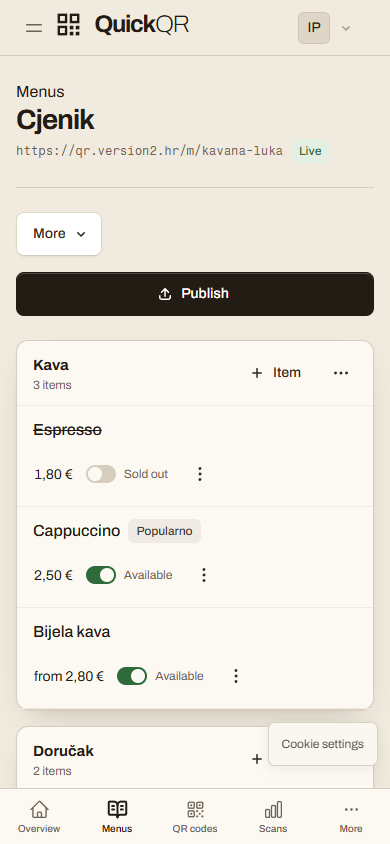
Captured in QuickQR with demonstration data. Set your prices with your phone to hand.
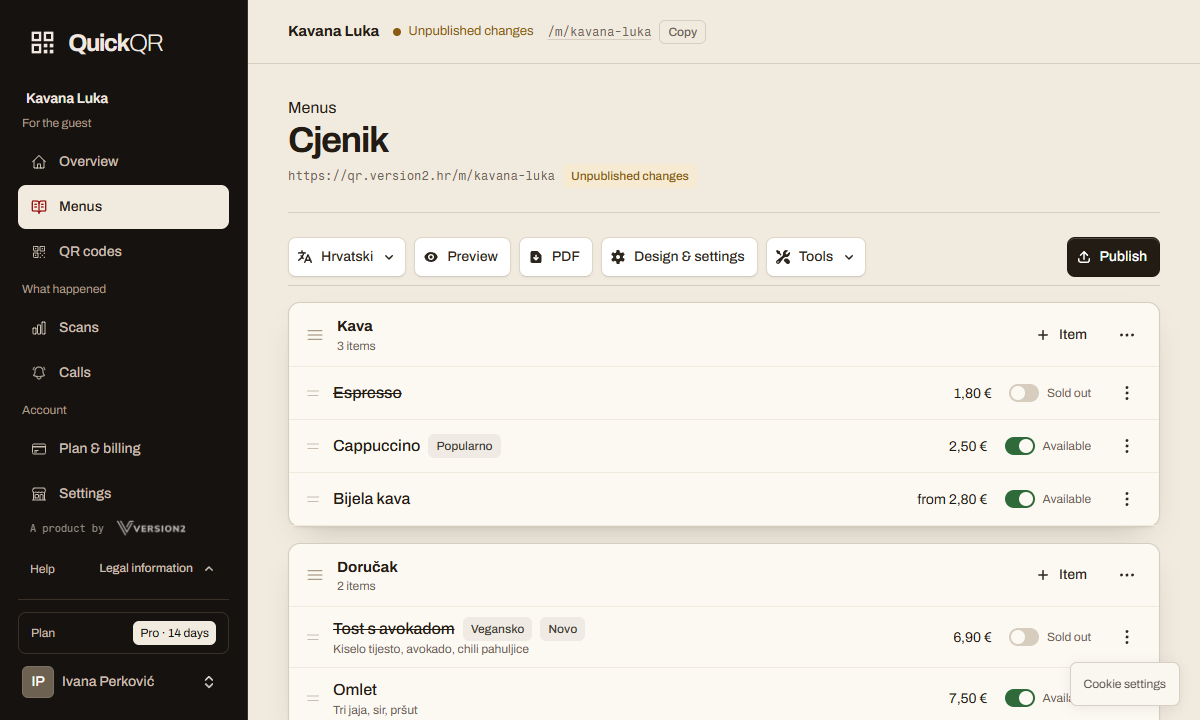
Replace suggestions with your own offer. Add descriptions, photos and checked allergens. Edit availability and prices in the same place, and review translations before publishing.
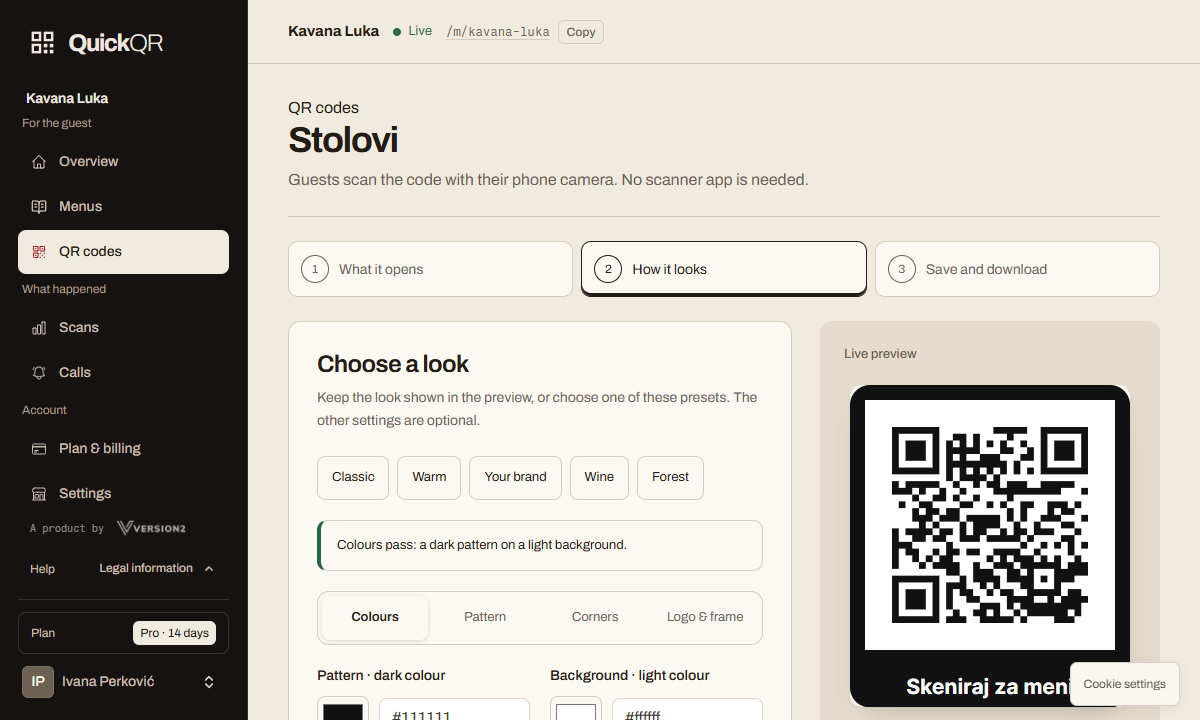
Captured in QuickQR with demonstration data. Make a code that suits your table.
Choose the code’s appearance and check it scans. A menu code uses a permanent link, so you keep it when your offer changes.
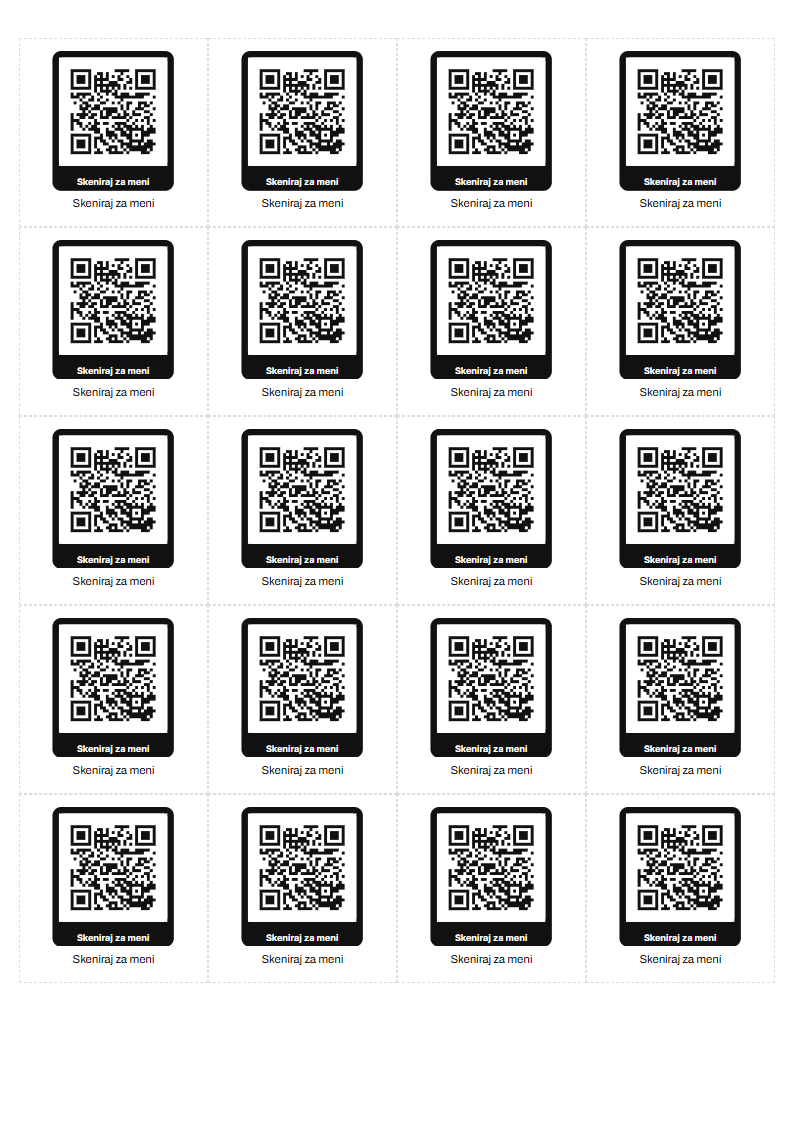
Captured in QuickQR with demonstration data. Print the format you need.
Free includes a PNG image. Basic and Pro add SVG and print templates for cards, stickers and posters. Scan a test print with your own phone before printing a batch.
Captured in QuickQR with demonstration data. Publish the offer you have checked.
Review prices, languages and allergens, then choose Publish. Your draft stays separate from what guests see until you publish it.
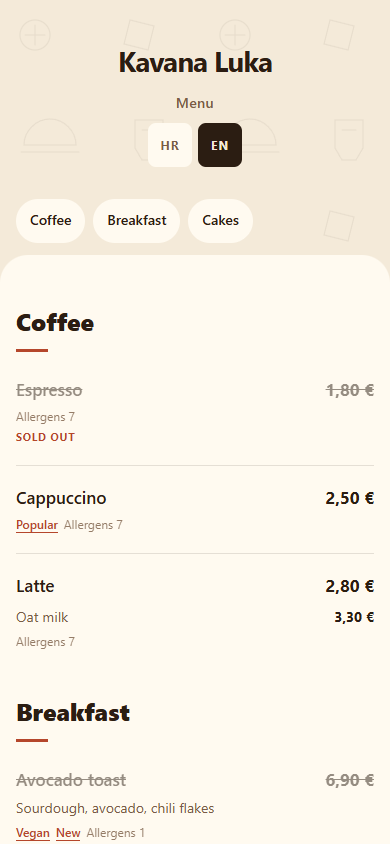
Captured in QuickQR with demonstration data. Your guest scans and reads.
The phone camera opens your published menu in a browser. Guests need neither an account nor an app. Future changes follow the same path: edit, check, publish.
Captured in QuickQR with demonstration data.